How to Maintain a Paver Patio in the Bay Area: Sealing, Weeds, Efflorescence and Winter Prep
A paver patio should look new for decades, but only if you know the four or five things that actually matter. What to do each season, what to skip, when to seal, and how to handle the white haze, the weeds and the winter rain.
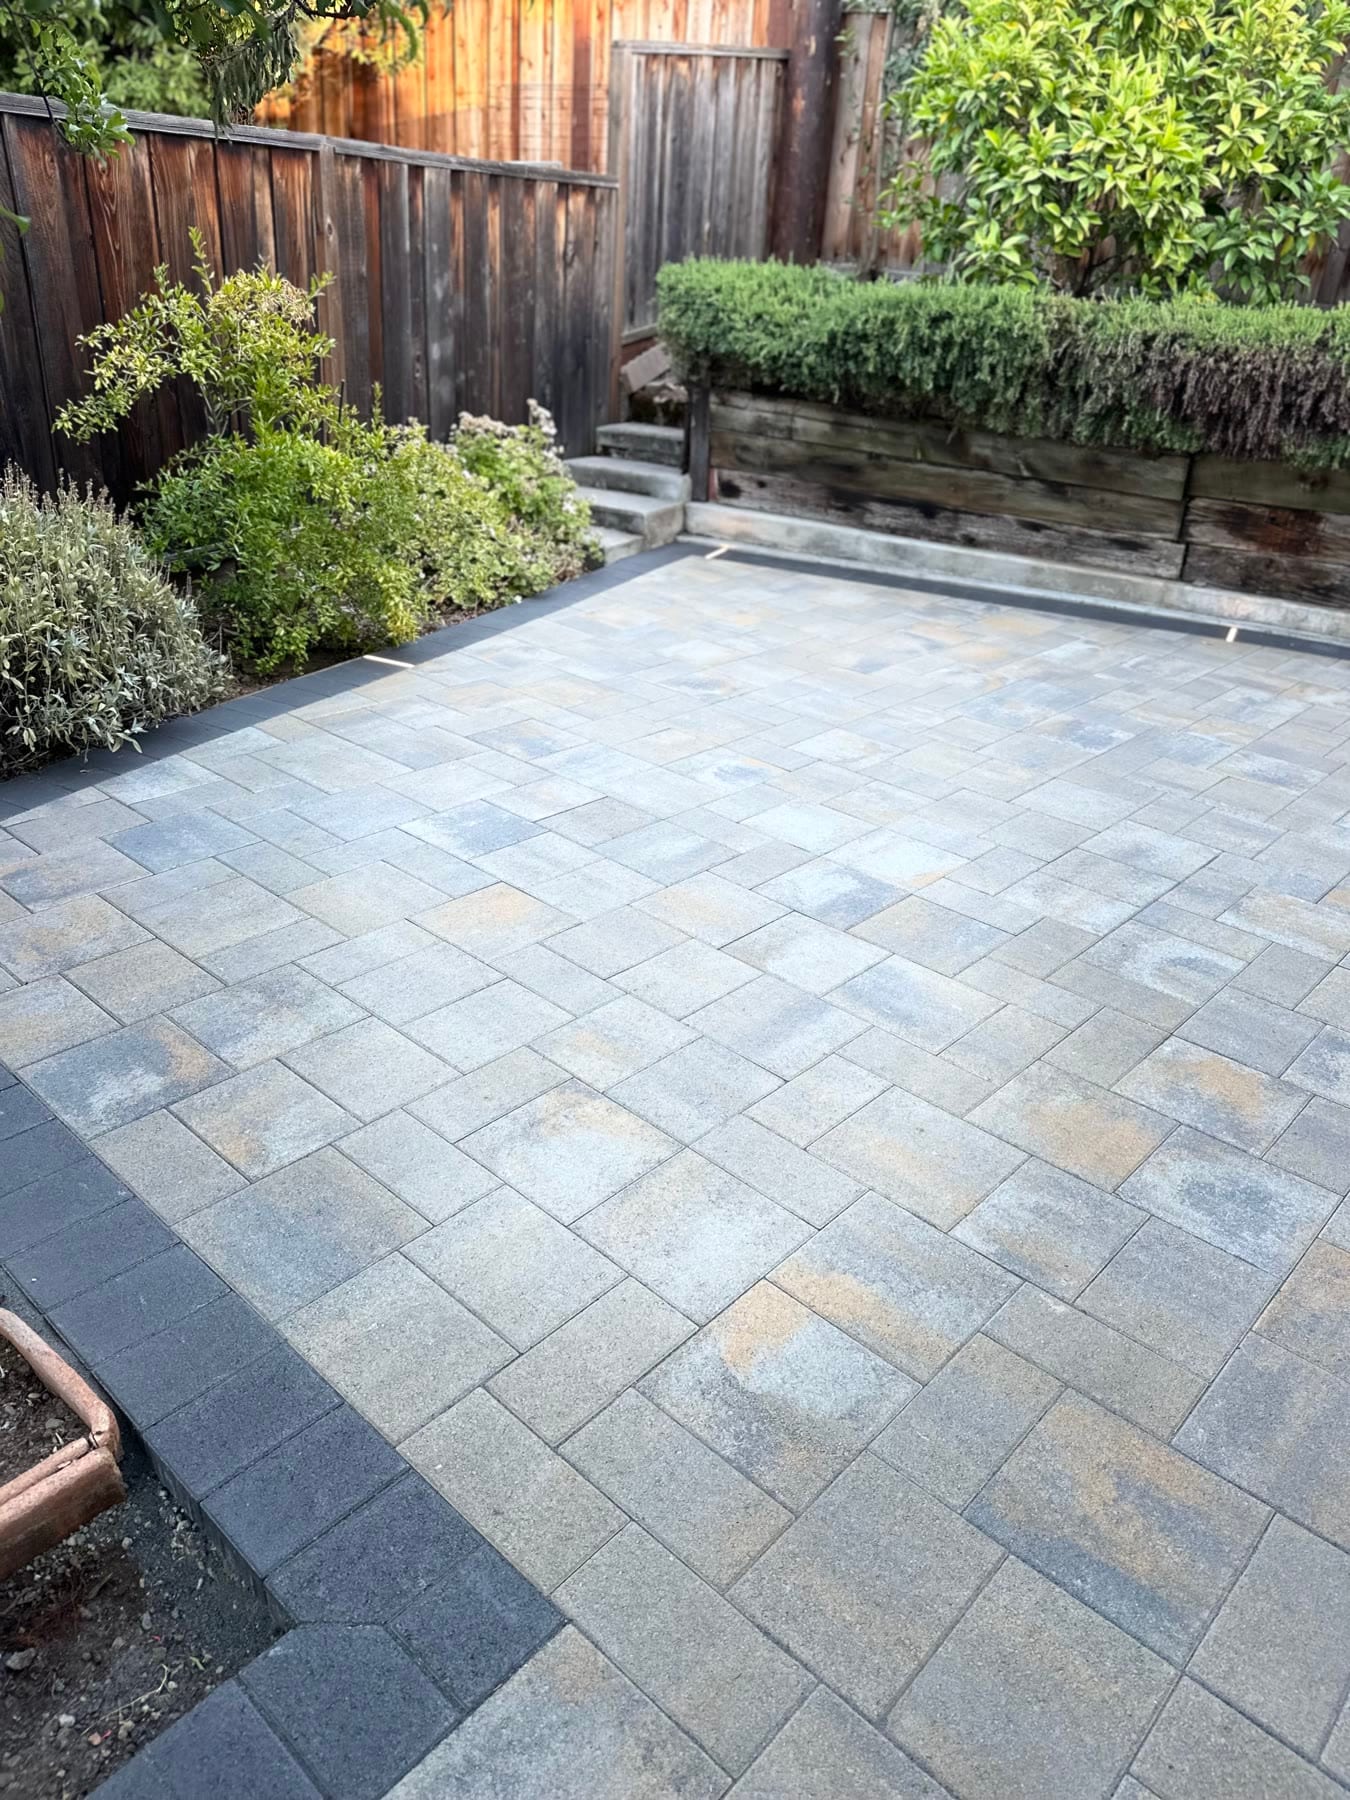
One of the main reasons homeowners choose pavers over concrete is that a paver patio can look new for decades. That is true, but it is not automatic. A patio needs a small amount of the right attention and can be damaged by the wrong kind, usually a pressure washer in the wrong hands or a sealer applied at the wrong time.
This is the maintenance routine we give our own customers across the Bay Area, from the East Bay to the South Bay and the Tri-Valley. It is short, because a properly built patio does not need much.
The yearly routine, in one list
- Every few weeks: sweep or blow off leaves and debris, especially under trees.
- Spring: rinse, check the joints, top up the joint sand where it has washed out, pull the first weeds.
- Summer: clean any stains from the grill or planters. Seal, if you are going to, once the patio is clean and dry.
- Before the rainy season (October): clear the drains and the edges, check the slope away from the house, refill joints, remove anything that will trap water against the pavers all winter.
- Every 3 to 5 years: reseal if the patio was sealed. Re-sand the joints if needed.
That is the whole program. Everything below explains why each step matters.
Cleaning: less pressure than you think
Most paver damage we are called to look at was caused by a pressure washer. High pressure aimed at the joints blows the sand out, and aimed at the paver surface it can etch it and expose the aggregate. Once the joints are empty, the pavers can shift and weeds move in.
For routine cleaning, a broom, a hose and a stiff brush are enough. For a deeper clean, a pressure washer on a low setting with a wide fan tip held well away from the surface is fine, and if you do it, plan on re-sanding the joints afterward. For grease from the grill, use a degreaser made for concrete pavers, let it sit, scrub and rinse. Do not use muriatic acid on colored pavers.
Joint sand: the part that holds it together
The sand in the joints is what makes an interlocking paver patio interlock. It locks the pavers against each other, keeps them from shifting under foot traffic, and keeps water and seeds out. Over time rain, cleaning and ants take some of it out.
Once a year, look at the joints. If the sand is more than a quarter inch below the top of the paver, sweep in fresh polymeric sand, mist it lightly with water so it sets, and keep foot traffic off it for a day. Polymeric sand hardens in the joint, which resists washout and weeds far better than plain sand. Do this on a dry day with a dry patio, or the sand will stick to the surface.
Efflorescence: the white haze on new pavers
If your patio is less than a year old and there is a chalky white film on it, that is efflorescence. Concrete pavers contain natural salts, and as the pavers cure and get wet and dry, the salts rise to the surface. It is cosmetic and it goes away on its own as the pavers weather.
Two things to know. First, it is not a defect and it is not dirt, so scrubbing does not help much. Second, never seal a patio that still shows efflorescence. The sealer traps it under the film and then it is permanent. If you want it gone faster, use an efflorescence cleaner made for pavers, rinse thoroughly, and let the patio dry completely.
Weeds, moss and ants
Weeds in a paver patio come from seeds that land in the joints, not from the ground beneath, because the base and the bedding layer are compacted rock and sand with nothing to grow in. Keep the surface swept, keep the joints full, and pull or spot-treat weeds while they are small. Moss shows up in shaded, damp areas, usually the north side of a house in Marin or under oaks in the East Bay, and a diluted outdoor cleaner and a brush take care of it. Ants moving sand out of the joints are a sign the sand is plain sand rather than polymeric. Re-sanding with polymeric sand usually ends it.
Sealing: optional, and only if you do it right
Sealing a paver patio is a preference, not a requirement. A sealer deepens and evens out the color, makes oil and food stains easier to lift, and helps lock in the joint sand. It also has to be reapplied every 3 to 5 years, it can turn a smooth paver slick when wet, and if it is applied to a damp patio or one with efflorescence, it turns cloudy.
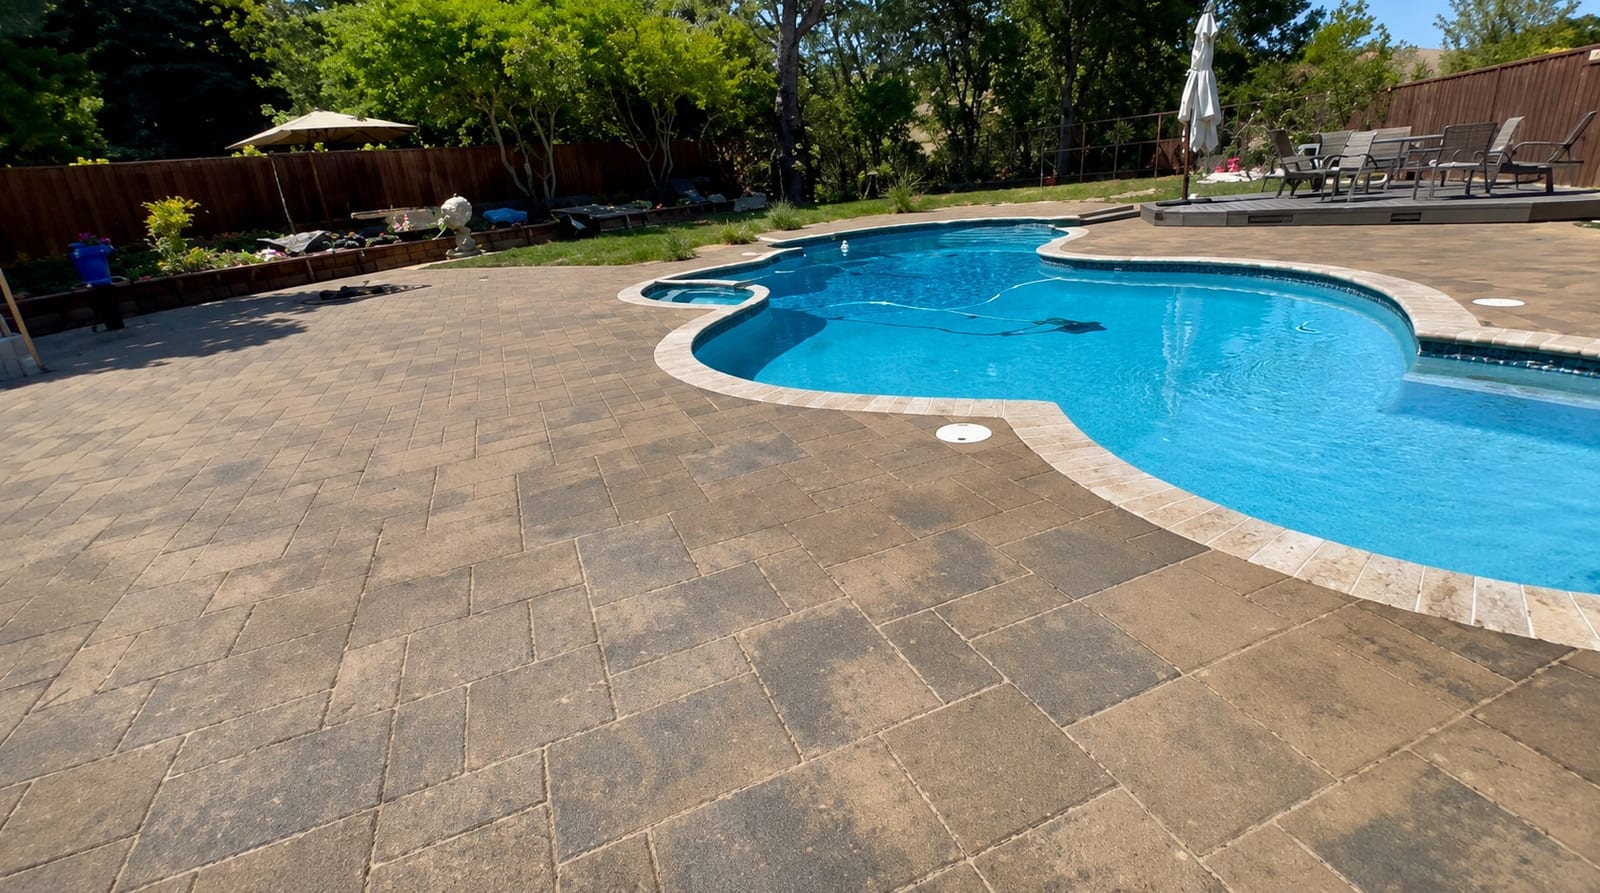
If you want the look, wait until the patio is at least a few months old, clean it, let it dry for a couple of dry days, and use a breathable, water-based sealer made for concrete pavers. On pool decks and shaded walkways, choose a sealer with a non-slip additive. If you would rather not think about it, an unsealed patio on a proper base lasts just as long and looks natural.
Winter prep: what matters before the rain
The Bay Area rainy season is when a patio either proves it was built right or shows that it was not. Before the first storms in October:
- Clear every drain at the patio edge, the channel drain at the house and any downspout extensions.
- Check the slope. Water should move away from the house. If there is a low spot that puddles, that section of the base may have settled and needs to be lifted and reset.
- Refill the joints so winter rain does not wash the pavers loose.
- Move planters and furniture that would sit in the same spot all winter and trap water and stain the pavers.
- Look at the edges. The edge restraint should be tight and covered. If pavers at the edge are drifting, the restraint has failed and needs attention before the wet season loosens it further.
A patio that puddles in winter is not a maintenance problem. It is a base and drainage problem, and it is worth having it looked at rather than living with it.
What should not happen
On a patio built with a compacted base, drainage and edge restraint, you should never see pavers heaving, a wavy surface, cracks through the pavers, or joints that open up more each year. If you are seeing any of those on a patio less than ten years old, the problem is under the pavers, and no amount of sealing will fix it. The good news is that pavers can be lifted, the base repaired, and the same pavers reset, which is something concrete cannot offer.
A patio you barely have to think about
Sweep it, keep the joints full, clear the drains before the rain, and seal it only if you like the look. That is the whole job for a patio that was built right, and it is why homeowners who have owned both never go back to concrete.
Royal Outdoor Solutions builds paver patios, driveways, walkways, pool decks and retaining walls across the East Bay, Contra Costa, Marin, the South Bay, the Tri-Valley and Solano County, and we build them on the base and drainage that make this maintenance routine possible. Family-owned, 15+ years of experience, licensed, bonded and insured, manufacturer's warranty in writing. See the paver patio service, look at finished patios, or book a free on-site design consultation.

Written by the Royal Outdoor Solutions team
Family-owned Bay Area hardscape contractor with 15+ years of hands-on experience installing paver patios, driveways, walkways, pool decks and retaining walls. Licensed, bonded and insured.
1-888-282-1344More guides
All guides →
Tell us about your project.
Free, no-obligation estimate. We come measure on-site, walk you through the design options, and follow up in writing.